
this one is a long story
the journey to 3D printing metal - part 1
3D printing metals, ceramics, sugar, chocolate...
sometimes you just gotta compensate. which is exactly what i did when i realised i would not be able to purchase a decent cnc mill to produce metal parts without financially undermining myself (this ended up not being true, and at the time of writing this the parts for my mill are on their way :3).
this lead me to start researching metal 3D printing (with a big budget concern in mind). at first i tried looking at how much a homemade SLM setup would cost me, and immediately abandoned that when i realised that i would have to circulate fucking argon gas thru the chamber if i wanted to do it without blowing my whole house up, for which i definitely dont have the budget nor the capabilities to do. not even counting the pure cost of the laser in, which could easily make just the machine cost over 2k euro.
i didnt give up however, and studied every metal 3D printing method i could find. out of the many that exist, theres basically only 2 processes of which the raw cost is low enough for me to attempt:
1. binder jetting
2. electron beam melting
electron beam melting is a pretty interesting one, as the electron gun is a pretty cheap device to diy, compared a high power laser, which would remove a very significant part of the cost compared to SLM. however, thinking about the 20kV you need to generate a sufficiently powerful beam, along with the ionizing radiation which such a device would emit, made me not a big fan of this process.
here is where binder jetting comes in. binder jetting, or 3DP as some call it, is a pretty amazing process, which involves using a inkjet printer printhead to place a liquid binder onto a powder bed, bonding the powder particles together into a desired 3D part. the best part is that, compared to other additive manufacturing processes, you can print basically anything, aslong as you find a powdered form of it and a suitable binder (or you can make your own).
now that i knew what process i can use to acomplish my task, it was time to design the machine, and solve all the little problems and steps along the way. huge thanks to Dragonator from ytec3D, as his Oasis 3DP project, along with all the other resources provided by them and the ytec3D forum, were some of the most helpful things i could have ever asked for. i also saved a ton of money on the printhead thanks to them selling HP45 connectors on tindie, so i didnt have to buy a bulk amount of them from the manufacturer.
the first thing i needed to do, is find and successfully control an inkjet printhead. this is a suprisingly hard (or easy, if you know how corporates go about their shit?), as most modern inkjet printheads have DRM built into them. however, there are some older printheads which are already hacked/able to be controlled by us. the most notable ones are the HP C6602, which was originally used in the Inkshield, the Xaar128, and the HP45. the C6602 is a very old printhead at this point, and it is outclassed by the HP45. the Xaar128 however, while also being worse than the HP45 spec wise, is a piezoelectric printhead, which means it can print a wider range of liquids than the thermo powered printheads, like the HP45, since it mechanically pushes the droplets out of its nozzles, as opposed to using thermal expansion. it is sadly also 10x the price of the hp45, going for 200€, where you can get a remanufactured HP45 for 20€.
i also thought about making my own printhead, but the level of precision needed to make one is wayyy out of my reach, however i did study how these printheads work, which somehow led to me winning an inkjet printer for myself??
anyways, now that i had the printhead choice ready, it was time to order one, and then get everything to control it in place.
i first ordered the printhead remanufactured from a local online store, then also ordered one of the HP45 connectors Dragonator is selling on tindie, aswell as some HP45 breakout board pcbs from aisler (you can find the schematics in the oasis repository). i printed the parts for the holder, and after 3 trips to the hardware store and about 2 weeks of waiting for the pcbs to be manufactured and shipped and for the connector to arrive, i finally had all the parts to build the printhead assembly.
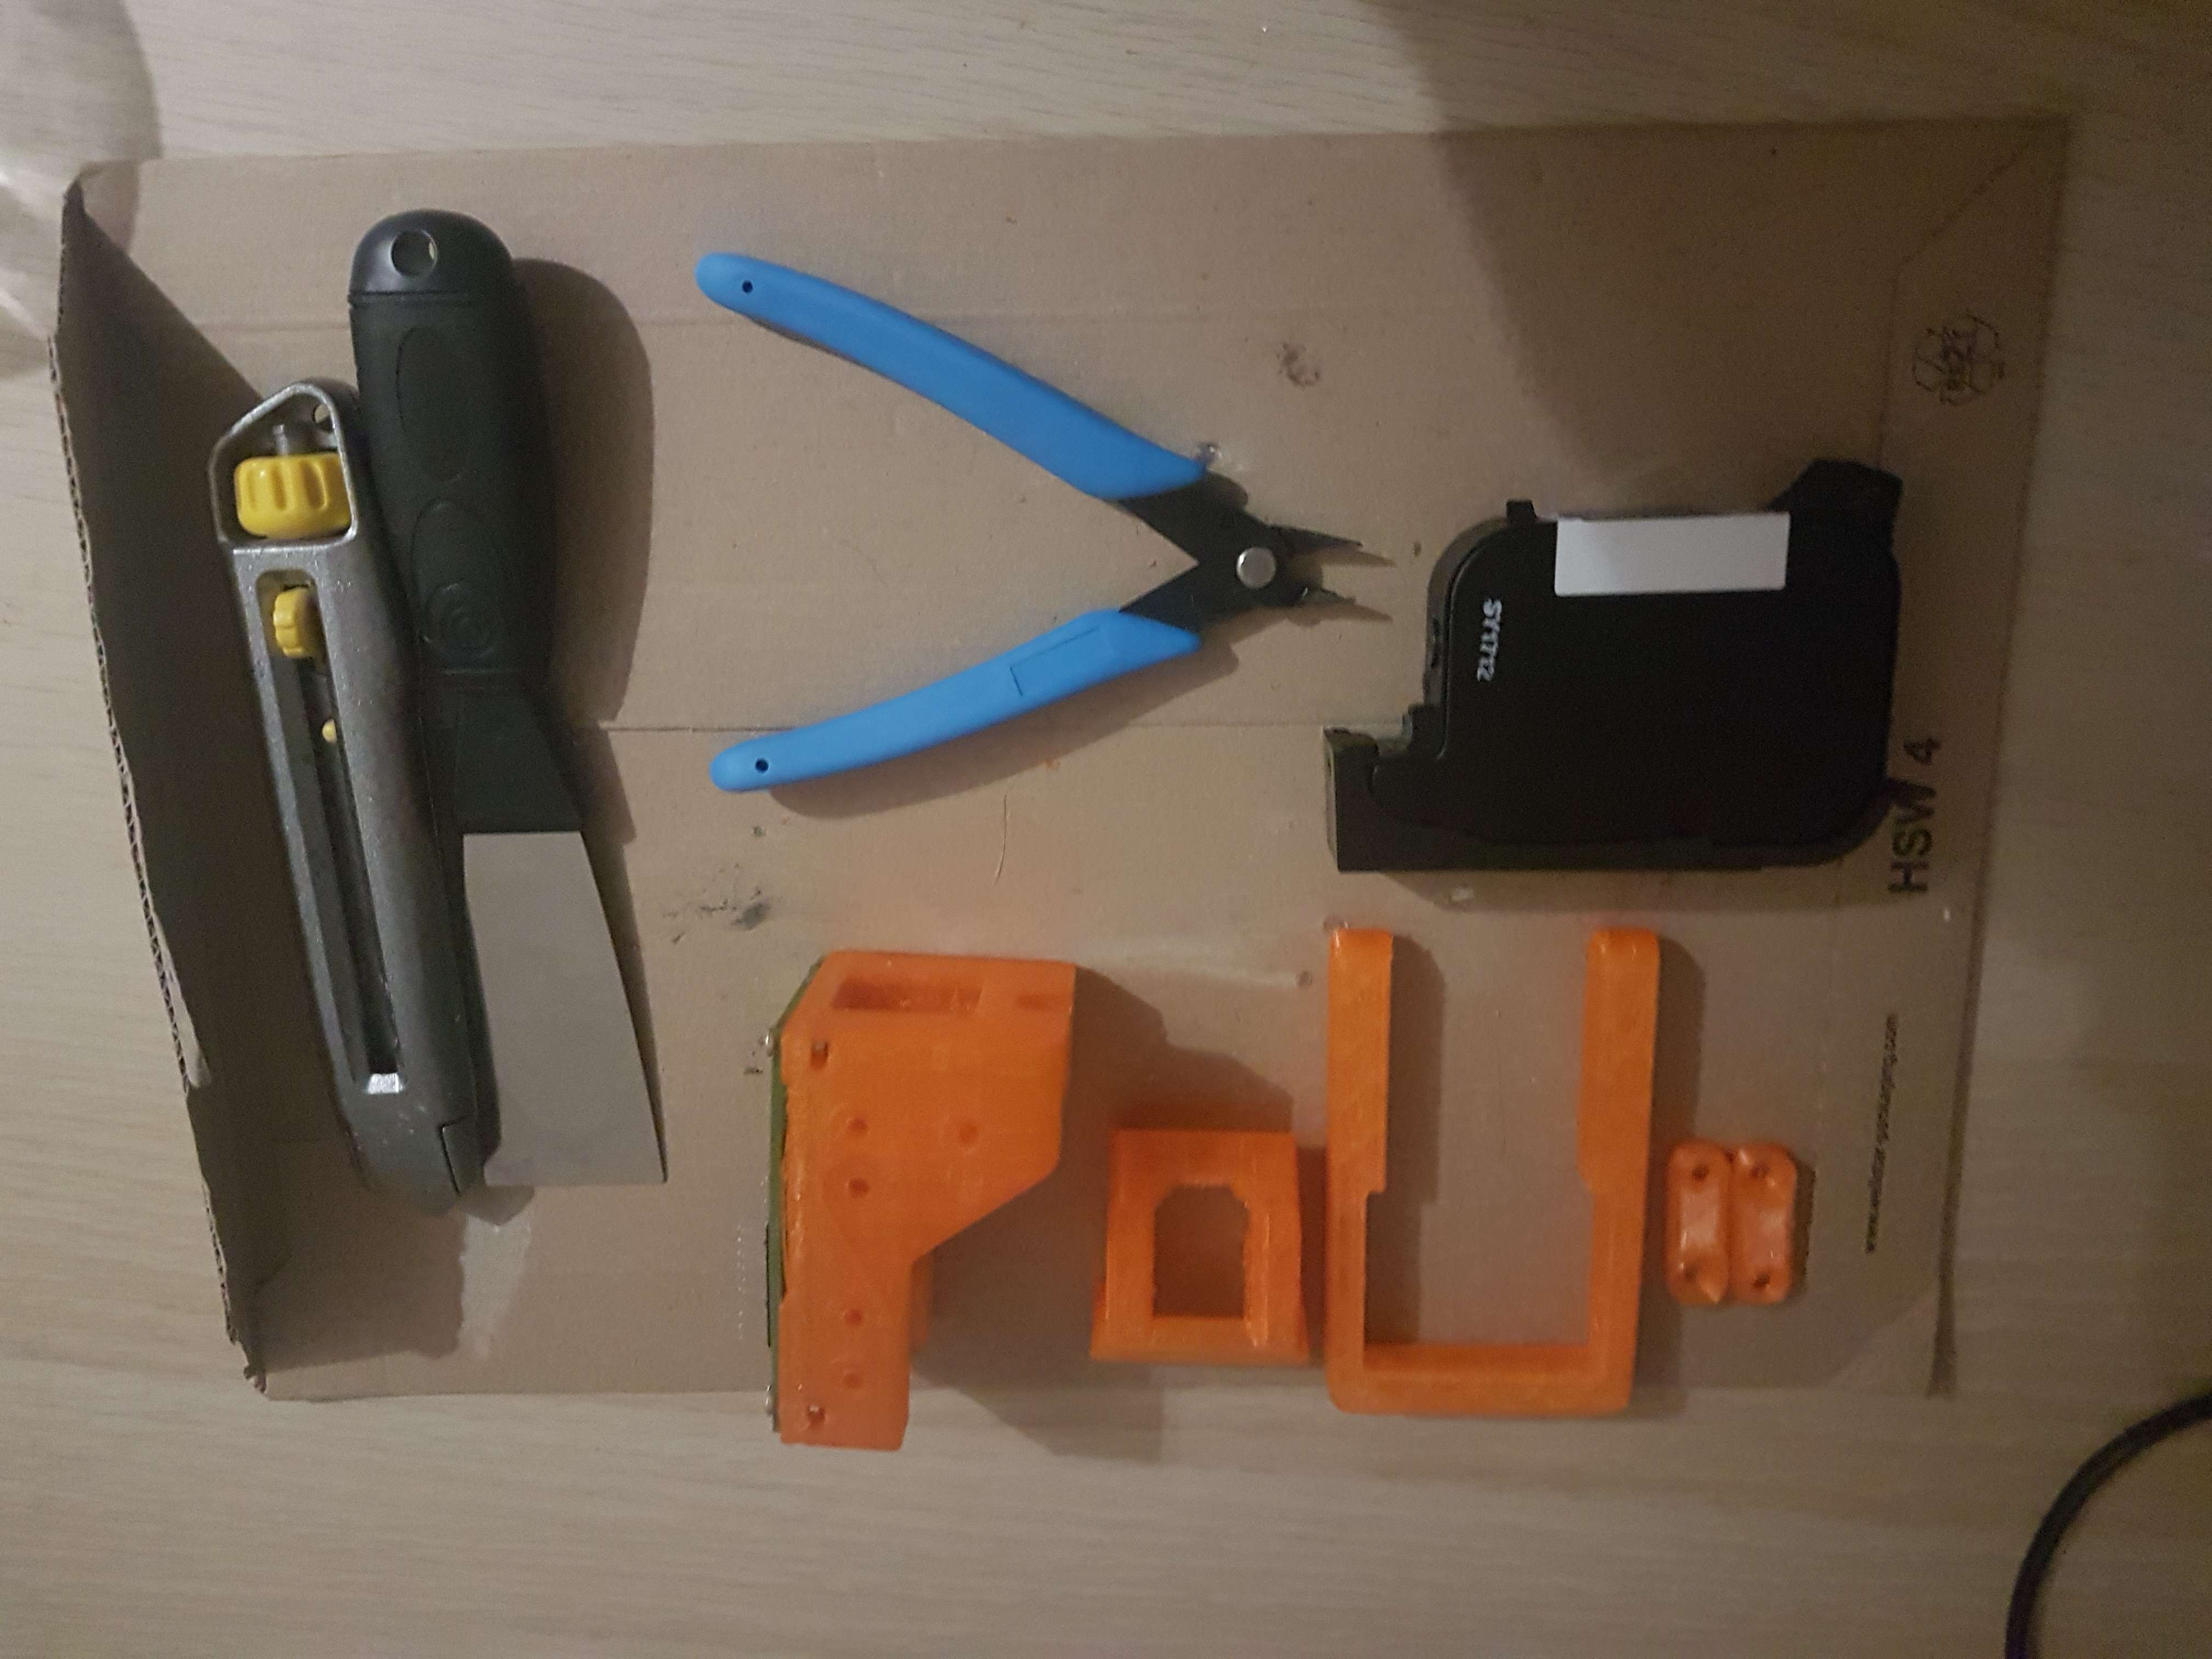
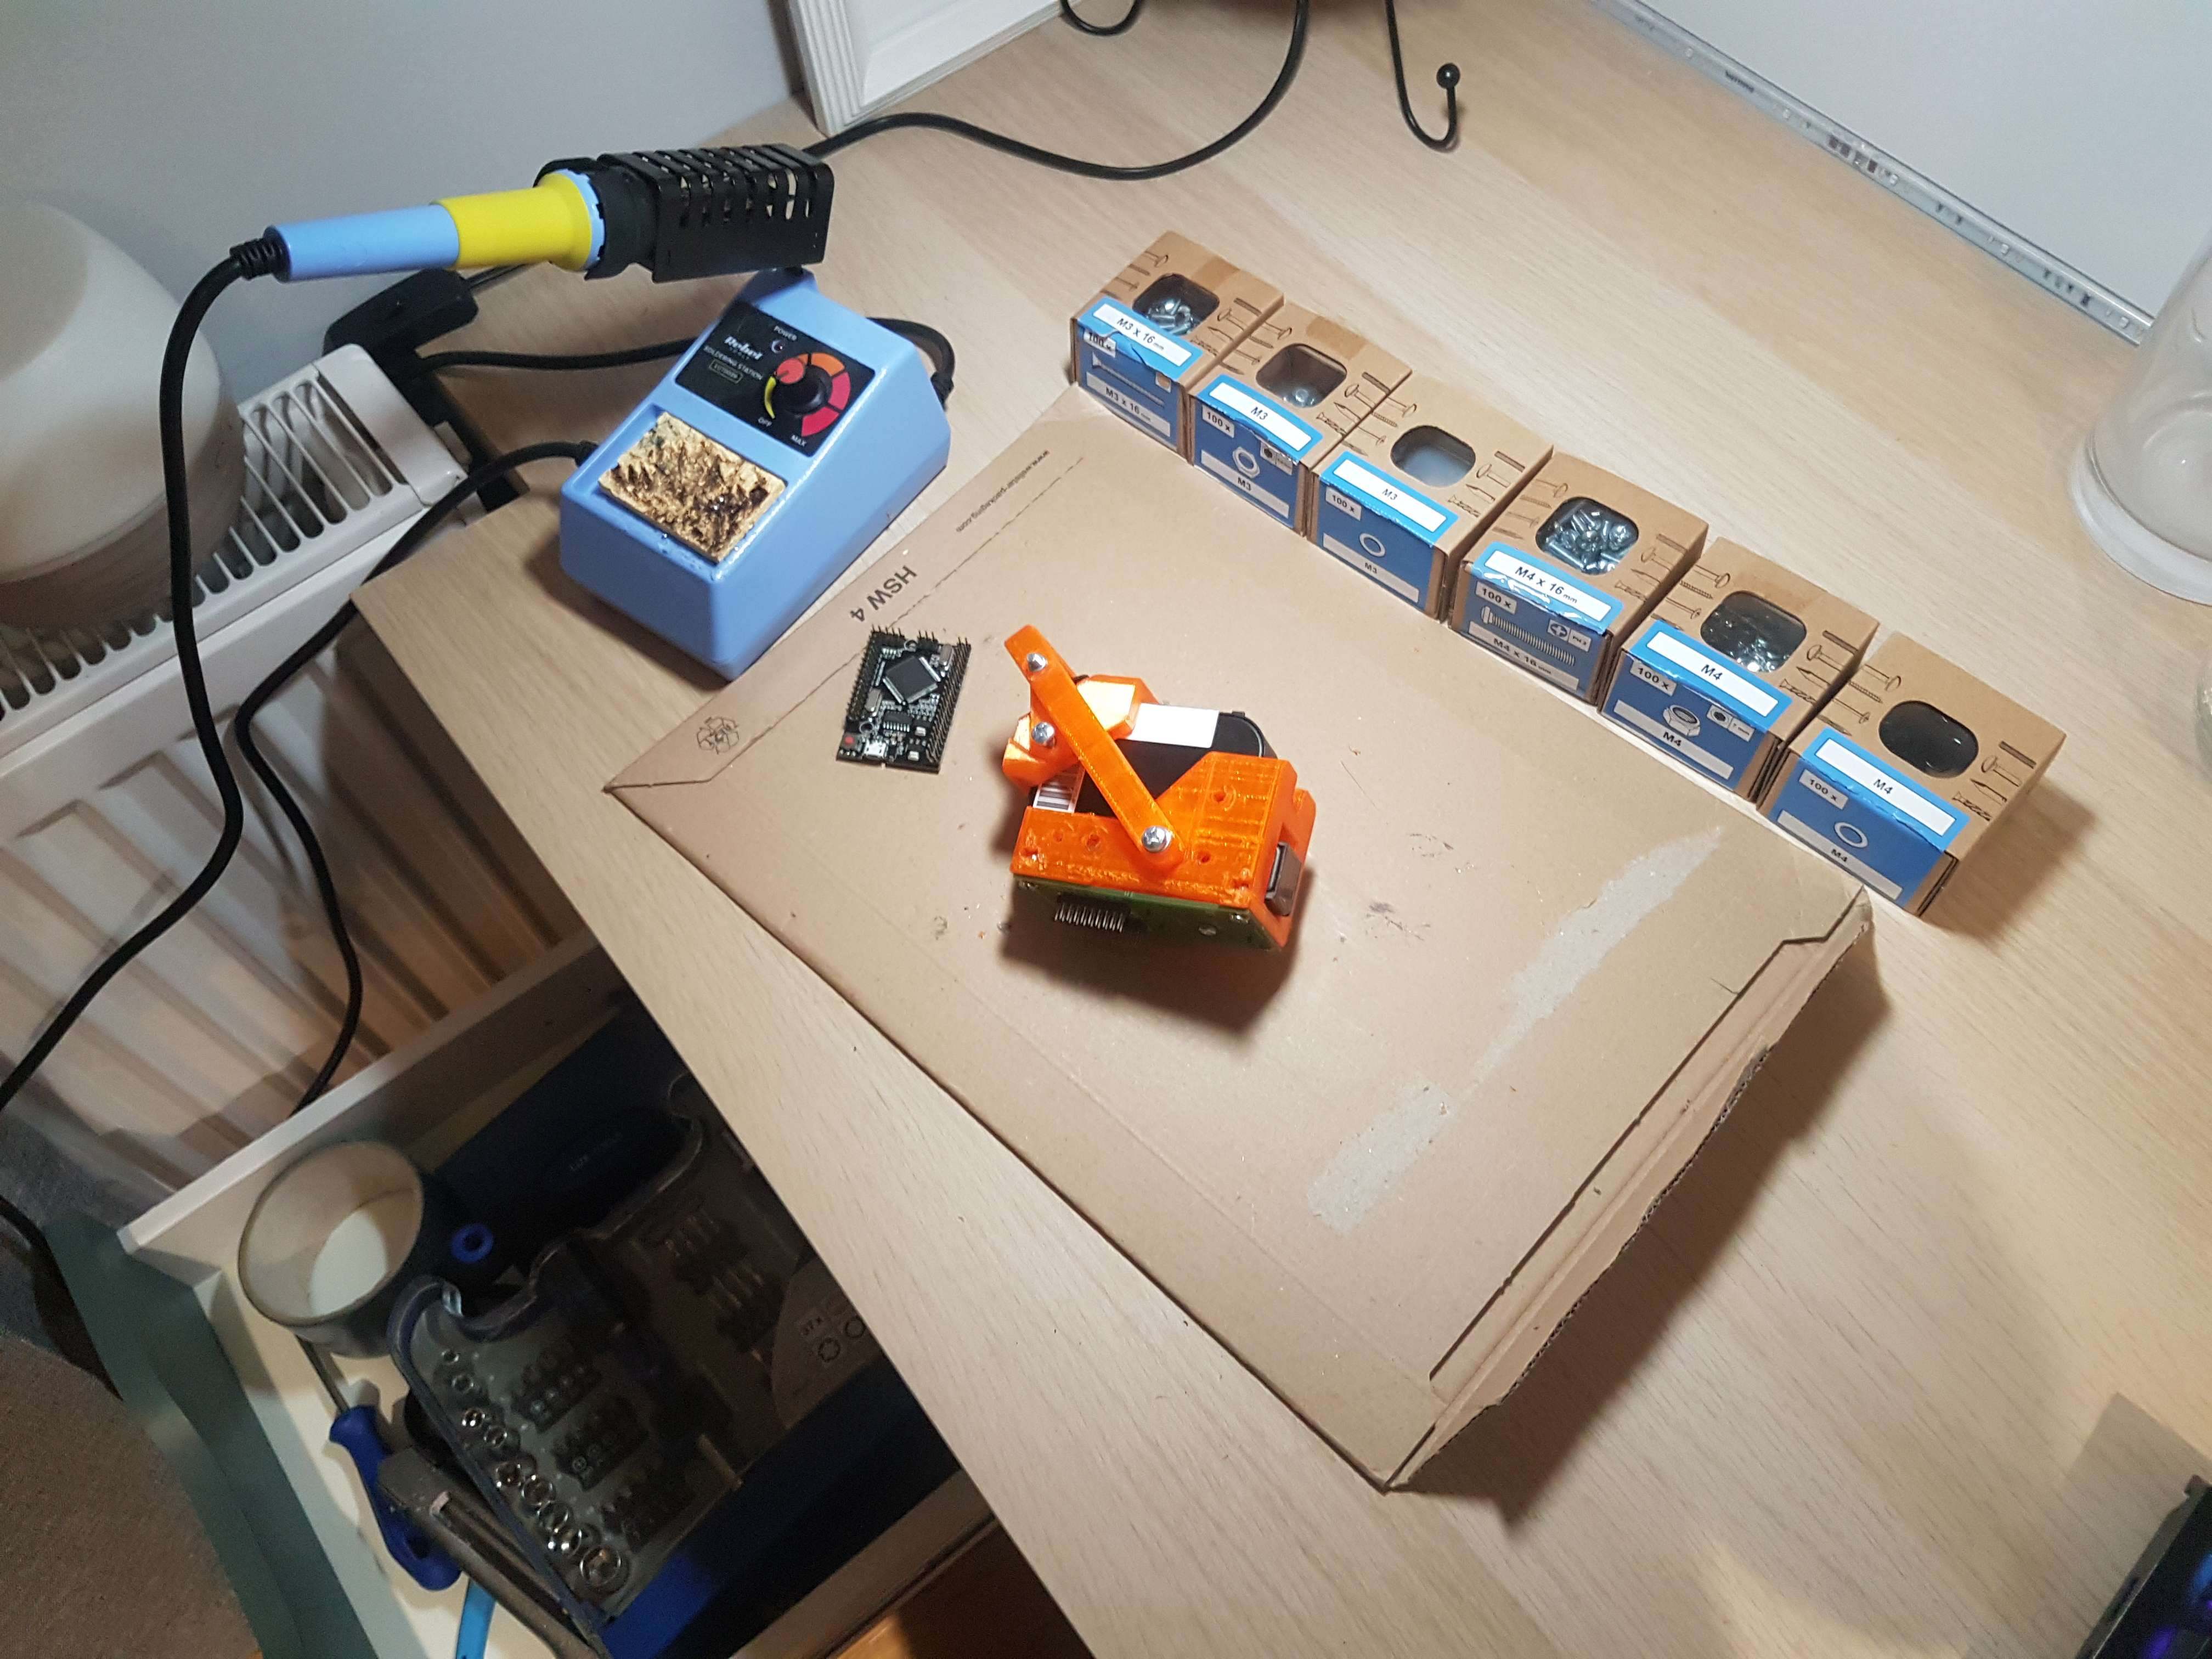
note to anyone making one of these, make sure to get flat headed m4 nuts and get the proper lenghts aswell, it wont move properly otherwise. i also soldered some headers into the pcb, to make working with it more convenient later on. i inserted all the nuts with a soldering iron, wasnt very difficult altho some spots were a bit inconvenient to access. make sure to put a piece of tape over the nozzles after you remove the protective cover of the printhead, the ink WILL leak out, and after some experiences i had because of not sealing them properly, i can confidently say printer ink is one of the most evil "harmless" substances i have ever dealt with (seriously, this shit does NOT come off, i got some on my finger 4 days ago and its still there).
the next step is wiring everything up on a breadboard and then creating a testing rig and porting the firmware made by Dragonator onto another microcontroller, as i cannot find a single teensy 3.x up for sale anymore. all this will (hopefully) be discussed in a part 2!
bottom text